This article will help you learn all about Windows 10 Spotlight. We will learn the following key points.
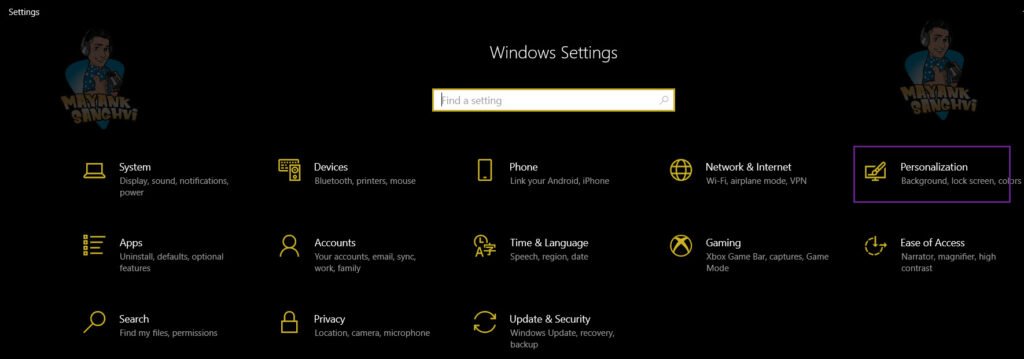
 Step 2 Open Windows 10 Personalization Section: To enable Windows 10 Spotlight, we need to open the "Login Screen" settings. It is available under personalization. Select the "Personalization," and then we can find the "Login Screen" section in the left column.
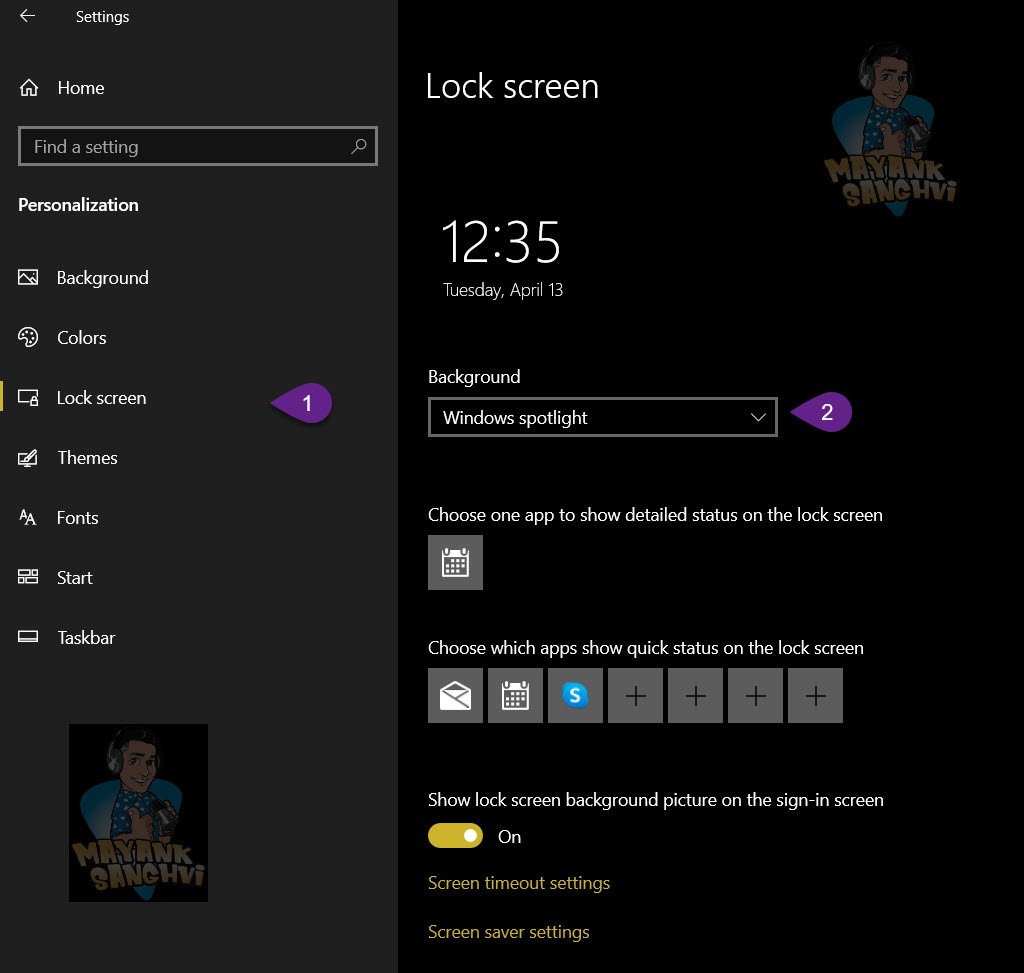 Step 3 Change Background Property: We can use the "Background" property to enable the Windows 10 Spotlight. At the time of writing this article, we have the following three properties available for Background.
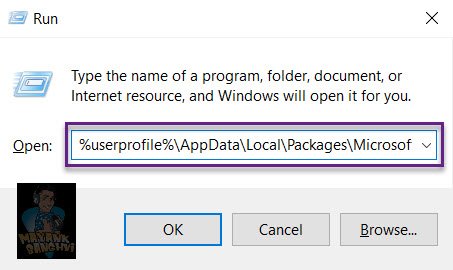
 In the above path %userprofile% is used for the currently logged-in user name. You can safely enter it in the Windows Explorer path bar, or you can use the run.
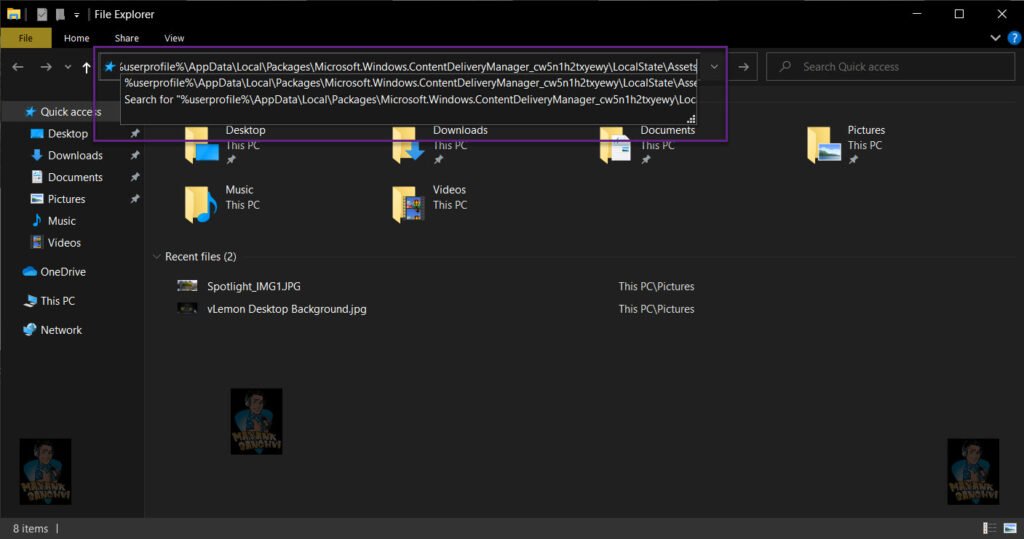 Once you open the folder, you may see some files with a random name and no file extension. These are nothing image files. We can copy all the files in the Picture library and rename them.
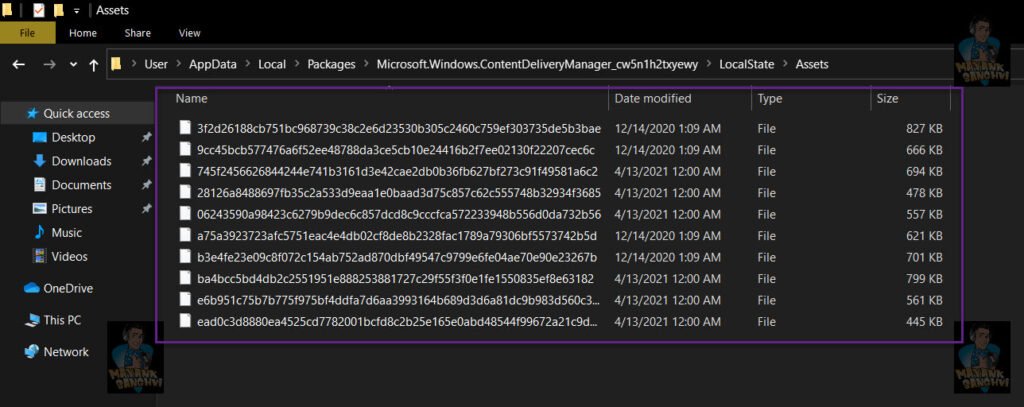 We have multiple images, and I kind of lazy, and I want a shortcut to rename all the files with a JPG extension. To rename all the files, we will use the "Comand Prompt." To open the Command prompt with the current explorer path, you need to type CMD in the Windows explorer path bar.
In the command prompt, we need to execute the following command
We have multiple images, and I kind of lazy, and I want a shortcut to rename all the files with a JPG extension. To rename all the files, we will use the "Comand Prompt." To open the Command prompt with the current explorer path, you need to type CMD in the Windows explorer path bar.
In the command prompt, we need to execute the following command
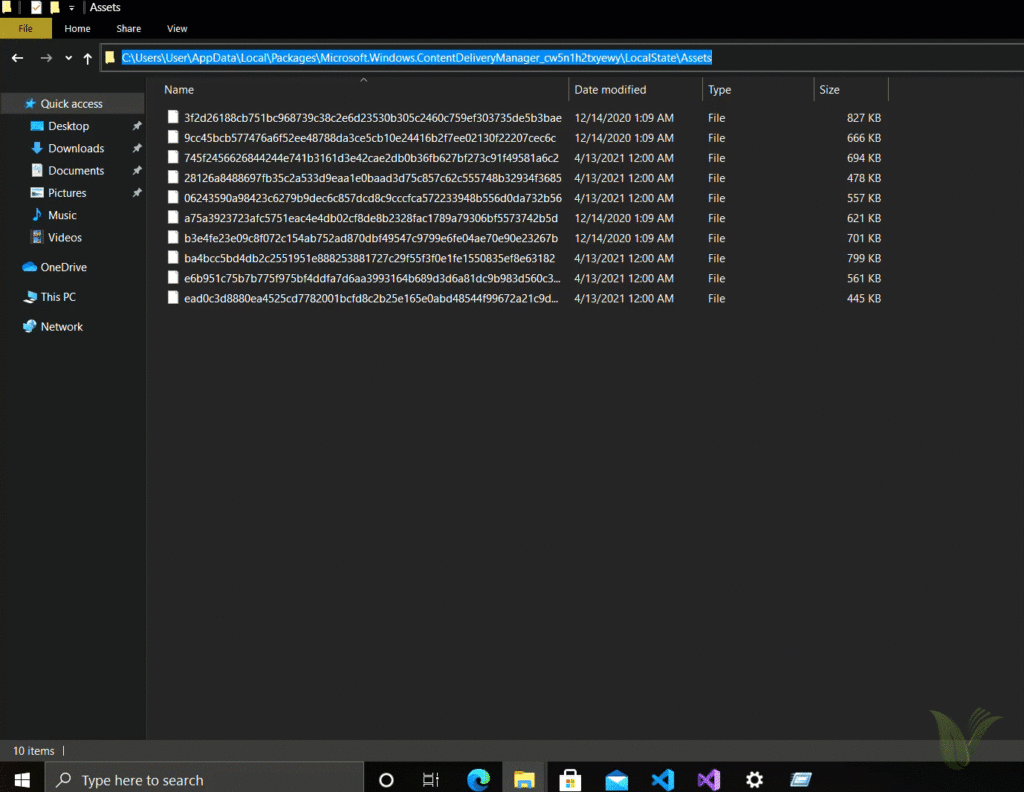 The above command will rename all the files in the currently selected directory. Please use the above command very carefully. Ensure you are in the correct folder before executing the above command. For us, we have no other files available, so we can safely run it. Once the rename command is completed, we can open the image files and check them in your default picture application. Alternatively, we can use Windows Explorer icons. You can click on the View menu and then select Extra large icons. If you cannot see the pictures, it may be disabled. You can refer to this article to enable pictures in windows explorer.
- Enable Spotlight on Windows 10
- Save Windows Spotlight images in the picture folder
- Disable Windows 10 Spotlight
#How to Enable Windows 10 Spotlight
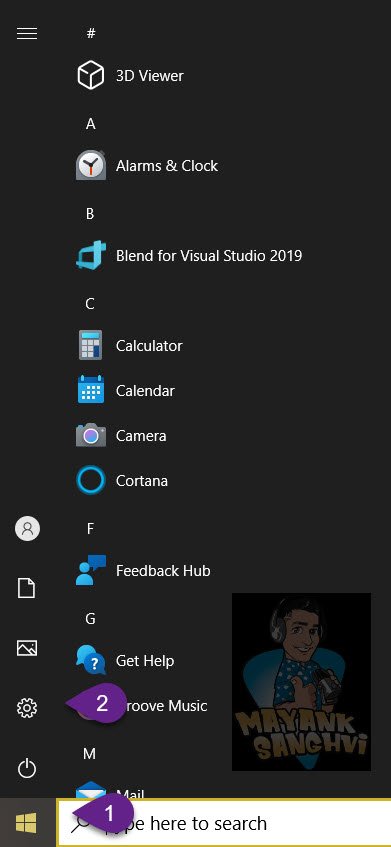
Following are the step-by-step guide to launch the Windows Spotlight in the Window 10 system. Step 1 Launch Settings: Click on the Windows Start icon and then click on the Settings icon.
Step 2 Open Windows 10 Personalization Section: To enable Windows 10 Spotlight, we need to open the "Login Screen" settings. It is available under personalization. Select the "Personalization," and then we can find the "Login Screen" section in the left column.
Step 3 Change Background Property: We can use the "Background" property to enable the Windows 10 Spotlight. At the time of writing this article, we have the following three properties available for Background.
- Windows Spotlight
- Picture
- Slideshow
#How to save Windows Spotlight images in the picture folder
All the Windows 10 spotlight images are available at
%userprofile%AppDataLocalPackagesMicrosoft.Windows.ContentDeliveryManager_cw5n1h2txyewyLocalStateAssets
ren * *.jpg
#How to Disable Windows 10 Spotlight
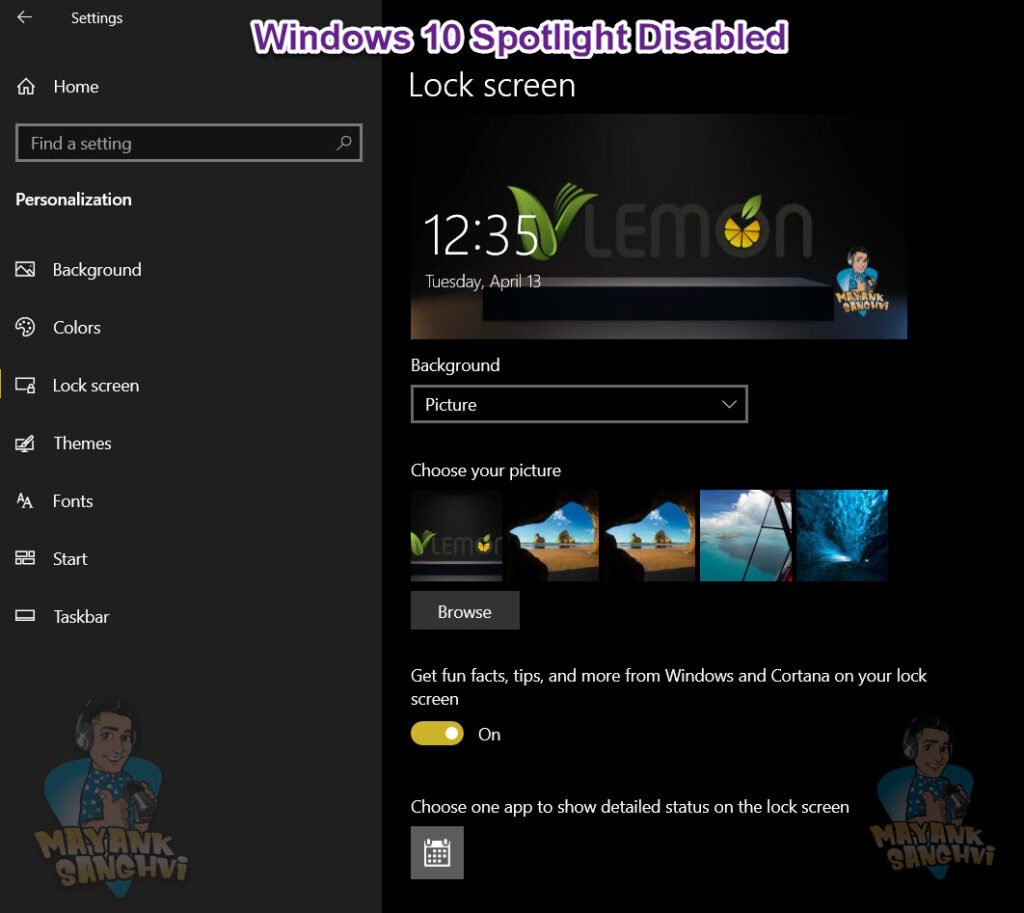
If you no longer need Windows 10 spotlight, you can refer to the following steps to disable it. Step 1 Launch Settings: Click on the Windows Start icon and then click on the Settings icon. Step 2 Open Windows 10 Personalization Section: To enable Windows 10 Spotlight, we need to open the "Login Screen" settings. It is available under personalization. Select the "Personalization," and then we can find the "Login Screen" section in the left column. Step 3 Change Background Property: We can use the "Background" property to enable the Windows 10 Spotlight. At the time of writing this article, we have the following three properties available for Background.- Windows Spotlight
- Picture
- Slideshow