Windows 11 is out, and it is available for the general public. However, if you are using a Windows 10 machine, you can upgrade it to Windows 11. The eligible system may receive an automatic update for Windows 11 by mid-2022. If you don’t want to wait for automatic updates, you can refer to this article to upgrade from Windows 10 to Windows 11.
Following are the steps for upgrading from Windows 10 to Windows 11.
Step 1: Check your Machine
As usual, the first step is to check if it is eligible for Windows 11. To check the eligibility, you need to install Microsoft PC Health Check App.
Note: It is an official app from Microsoft. No need to download any third-party apps for this step.
Download PC Health Check App
PC Health Check App required Windows 10, version 1803 or later. If you are using an older version of Windows 10, you first need to update it. You can refer to the following article to learn How to install the latest update for Windows 10. Assuming your system is ready to install the “PC Health Check App,” you can visit the following URL.
https://www.microsoft.com/en-in/windows/windows-11#pchealthcheck

Download the installer and launch it to install the “PC Health Check App.” Installation steps for the “PC Health Check App” are straightforward. If you still need to check the details steps, you can click on this link.
After the installation is complete, launch it to check your PC. On the “PC Health Check” overview screen, we have a “Check now” button. Use it.
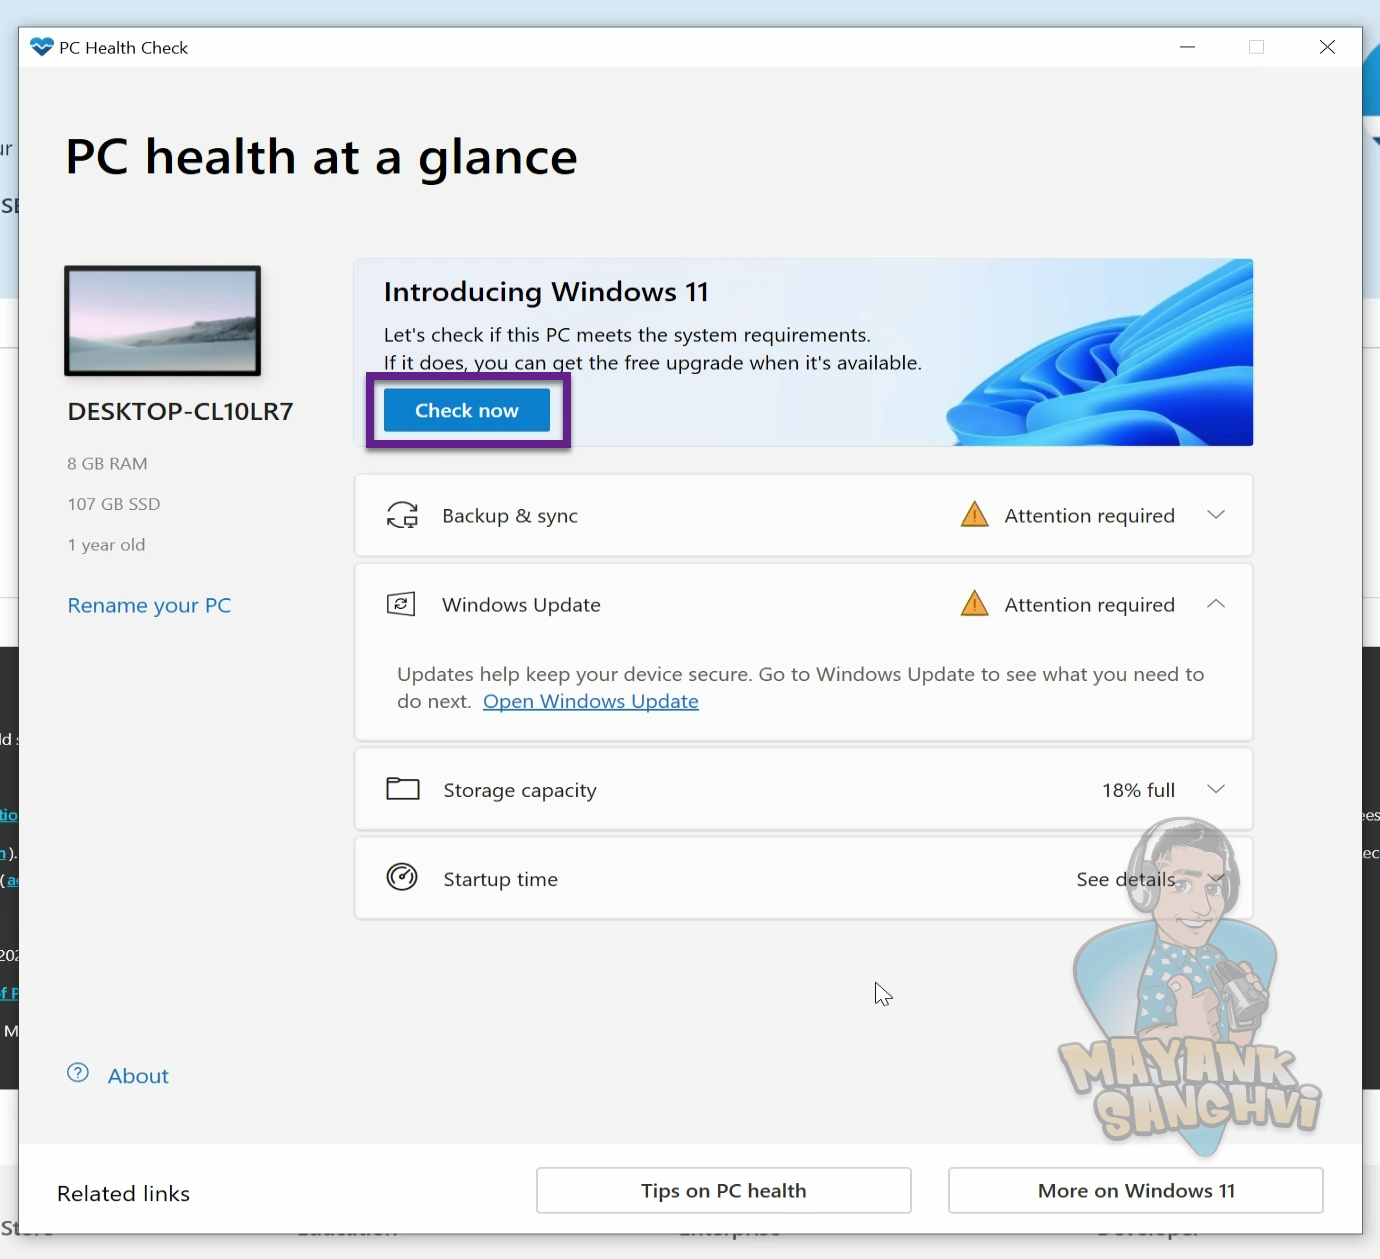
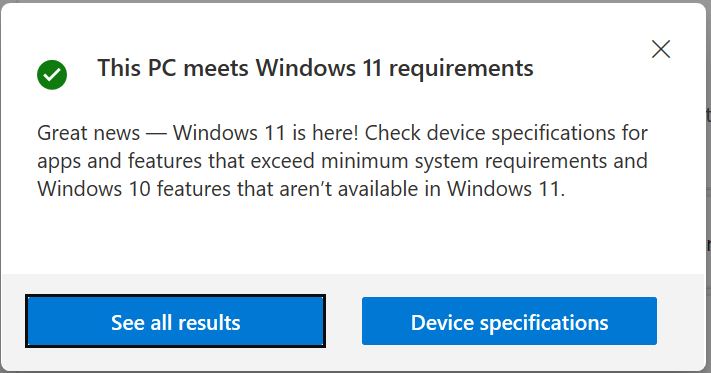
If everything is fine, you can see the following dialog and move to the next step for upgrading your machine from Windows 10 to Windows 11.
For your information following are some error messages.
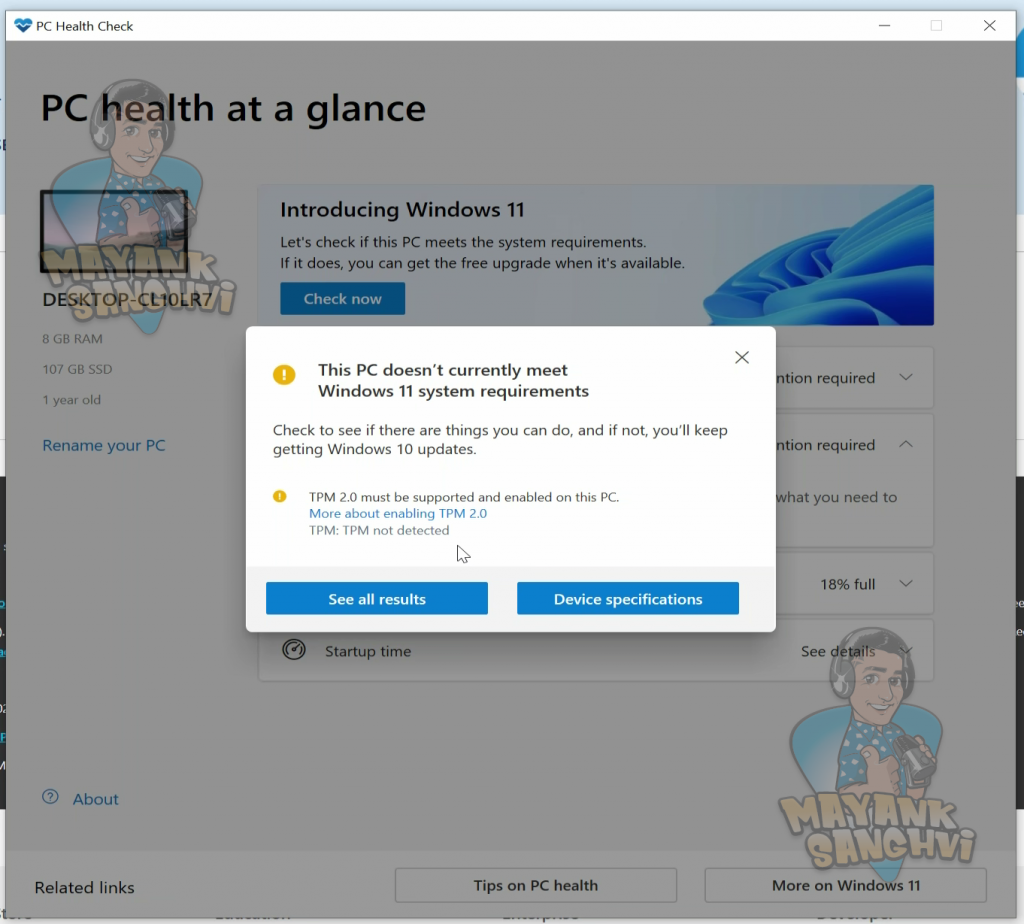
In the above image, we have an issue with TPM 2.0. It is mandatory for Windows 11. You can learn more about TPM 2.0 and How to enable it in the following article.
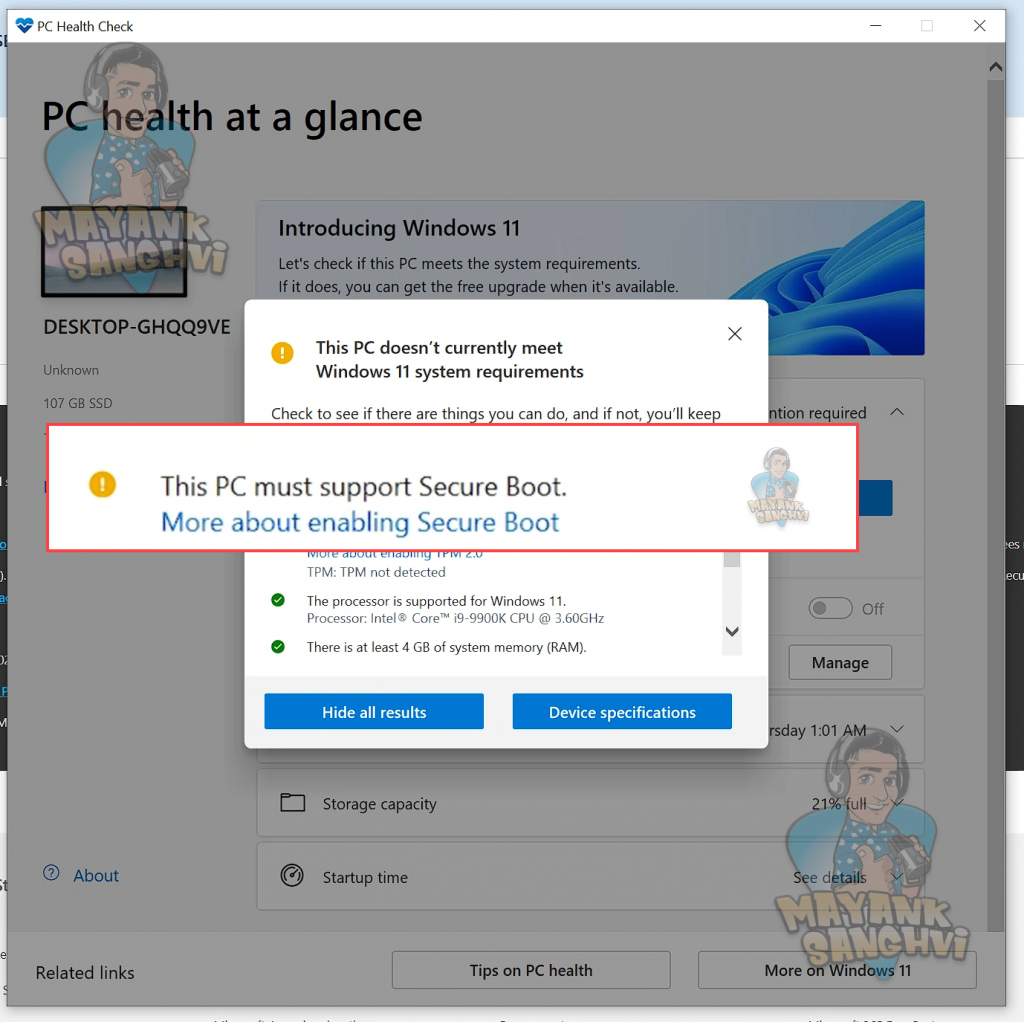
In the above image, we have an issue with Secure Boot. However, it is mandatory for Windows 11. You can learn more about Secure Boot and How to enable it in the following article.
Following are the requirements for Windows 11.
Processor: 1 gigahertz (GHz) or faster with two or more cores on a compatible 64-bit processor or system on a chip (SoC).
RAM: 4 GB Minimum.
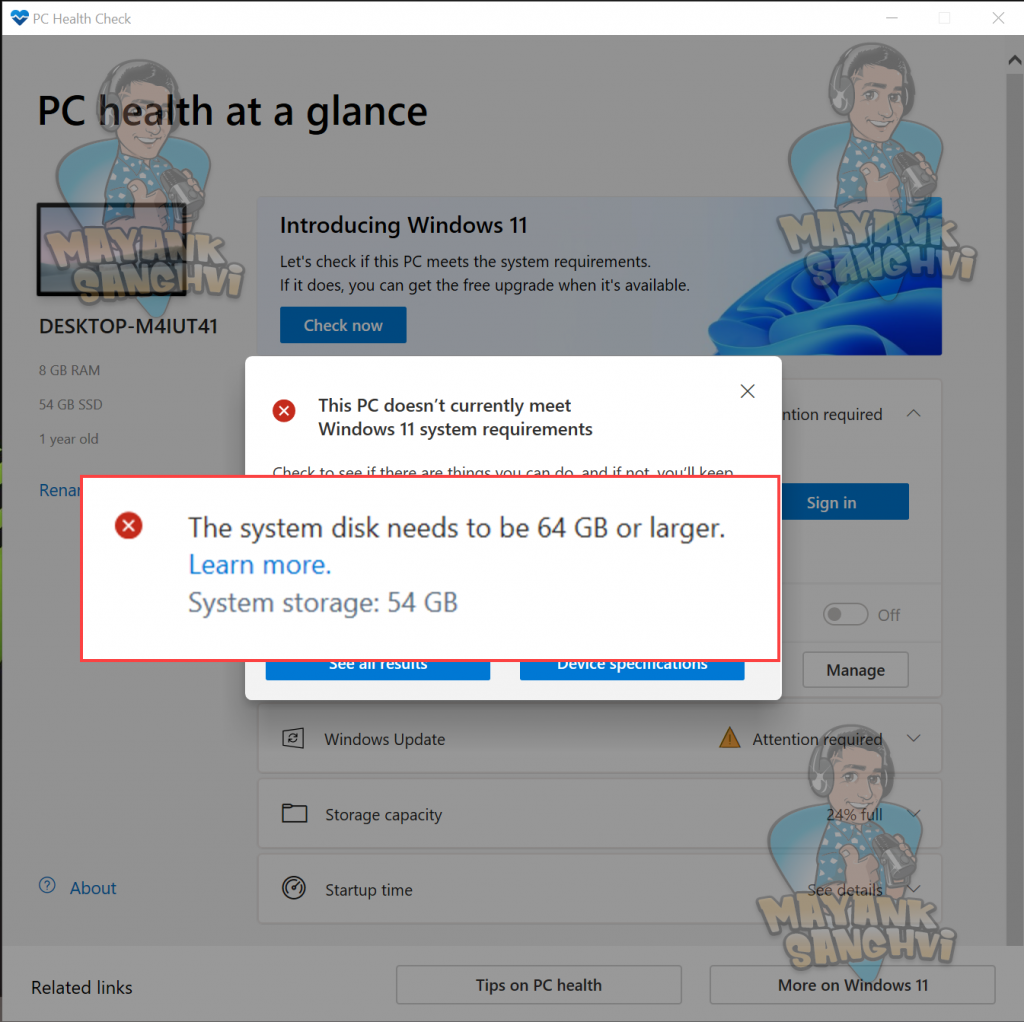
Storage: 64 GB or larger storage device Note: See below under “More information on storage space to keep Windows 11 up-to-date” for more details.
System firmware: UEFI, Secure Boot capable. Check here for information on how your PC might be able to meet this requirement.
TPM: Trusted Platform Module (TPM) version 2.0.
Graphics card: Compatible with DirectX 12 or later with WDDM 2.0 driver.
Display: High definition (720p) display greater than 9″ diagonally, 8 bits per color channel.
Internet connection and Microsoft account: Windows 11 Home edition requires internet connectivity and a Microsoft account.
Switching a device out of Windows 11 Home in S mode also requires internet connectivity. Learn more about S mode here.
For all Windows 11 editions, internet access is required to perform updates and download and take advantage of some features. In addition, a Microsoft account is required for some features.
Step 2: Create Backup
Before starting upgrading, you need to ensure you have a good backup for all your essential files. You can refer to the following article How to use Cloud Storage to create a backup for all your essential files.
Step 3: Upgrade to Windows 11
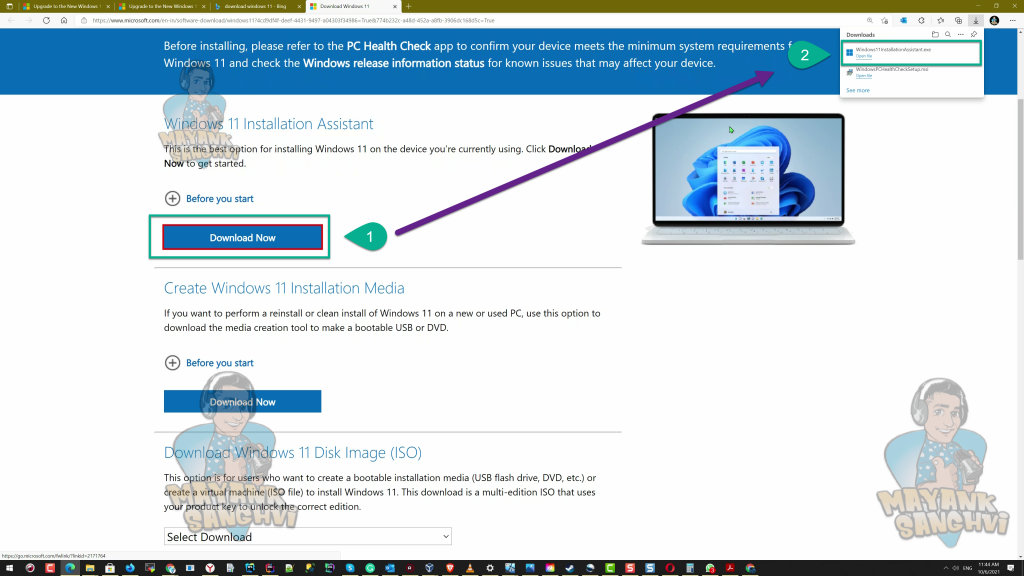
To download the Windows 11 installation media, we need to visit the following URL.
When you visit the above URL, you may see three different options. Following are the explanation for all the possibilities, but I will use option one because we are upgrading from Windows 10 to Windows 11. But feel free to read the other two options.
- Windows 11 Installation Assistant: It is the best option for installing Windows 11 on the device we are currently using. I need to install it on the machine I am currently using. May it risk? Yes. What are the risks? I can discuss it in a separate article.
- Create Windows 11 Installation Media: It is an excellent option to perform a clean Windows 11 installation. What do you mean by clean Windows 11 installation? In simple words, replace or format and install. I don’t perform a clean installation because I don’t create backups and reinstall all the software. It is not for me.
- Download Windows 11 Disk Image (ISO): The last option is downloading a Windows 10 ISO image. It is if we need to save the ISO file. Create a bootable disk or USB. If you want to learn How to create Windows 11 bootable USB drive, you can refer to this article.
As mentioned above, I will use Windows 11 Installation Assistant to upgrade from Windows 10 to Windows 11. Download it.
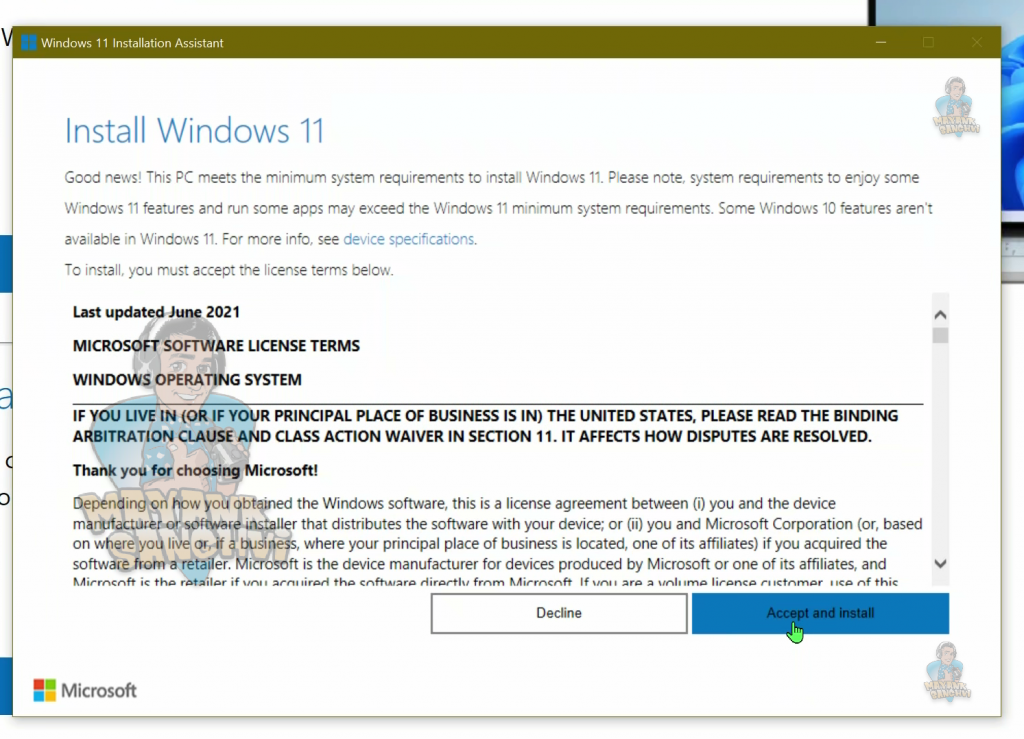
It is the easiest to upgrade from Windows 10 to Windows 11. Once the Windows 11 Installation Assistant executable is ready, click on it to start the upgrade. At first, we need to Agree with the Terms and Conditions. Read it, and you are comfortable click on the “Accept and Install” button.
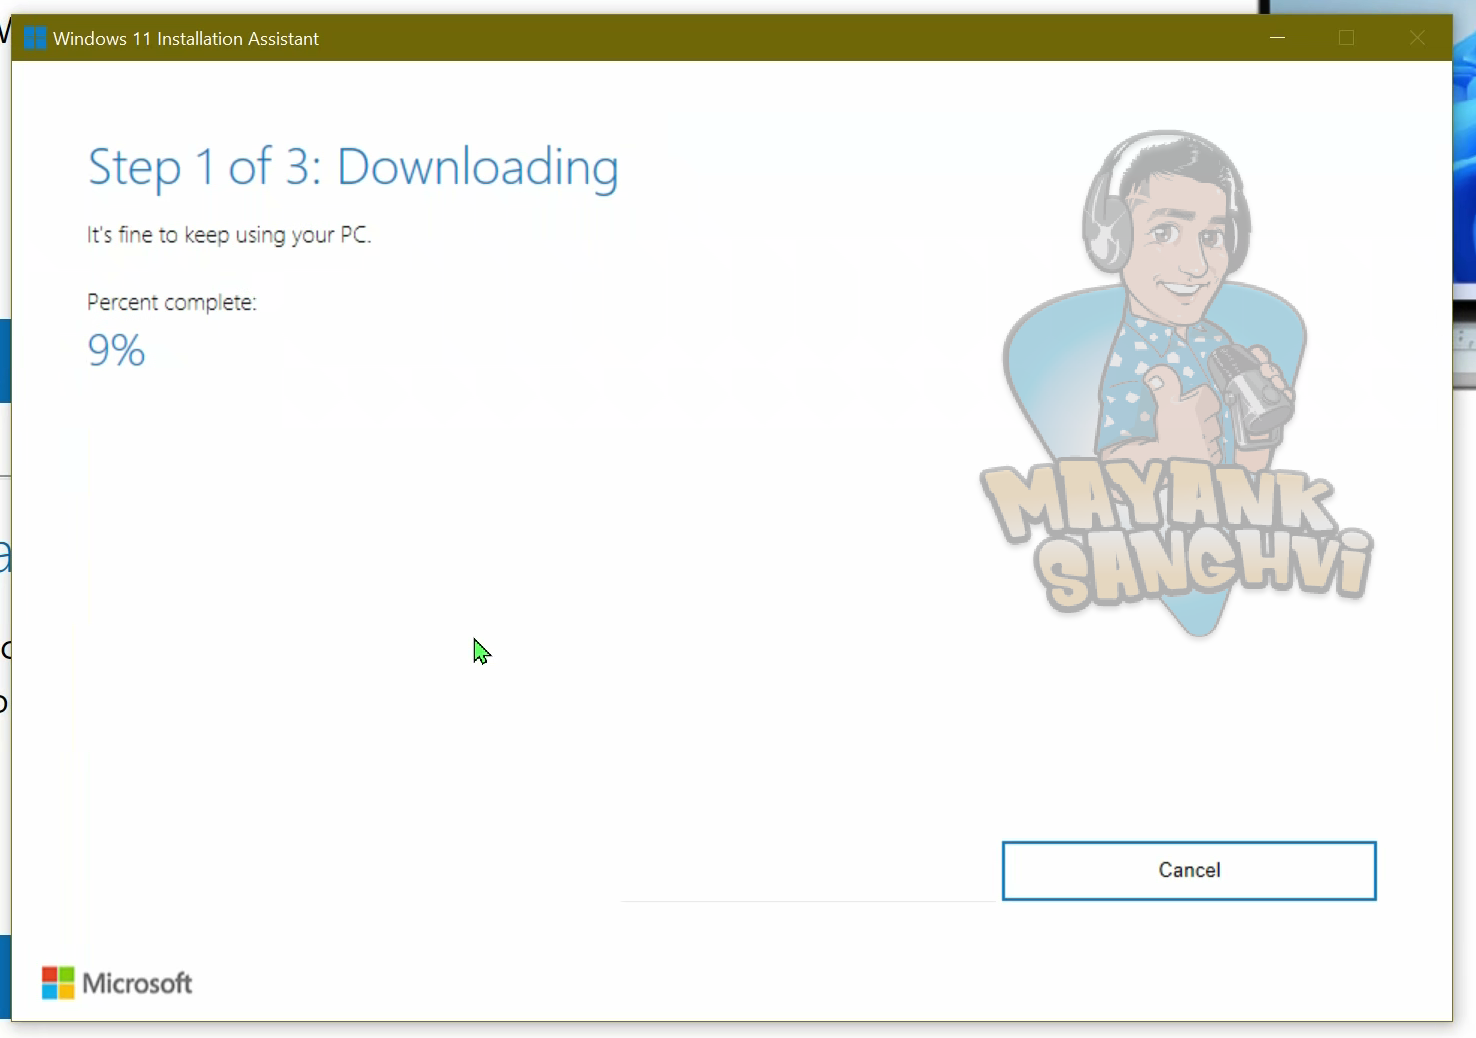
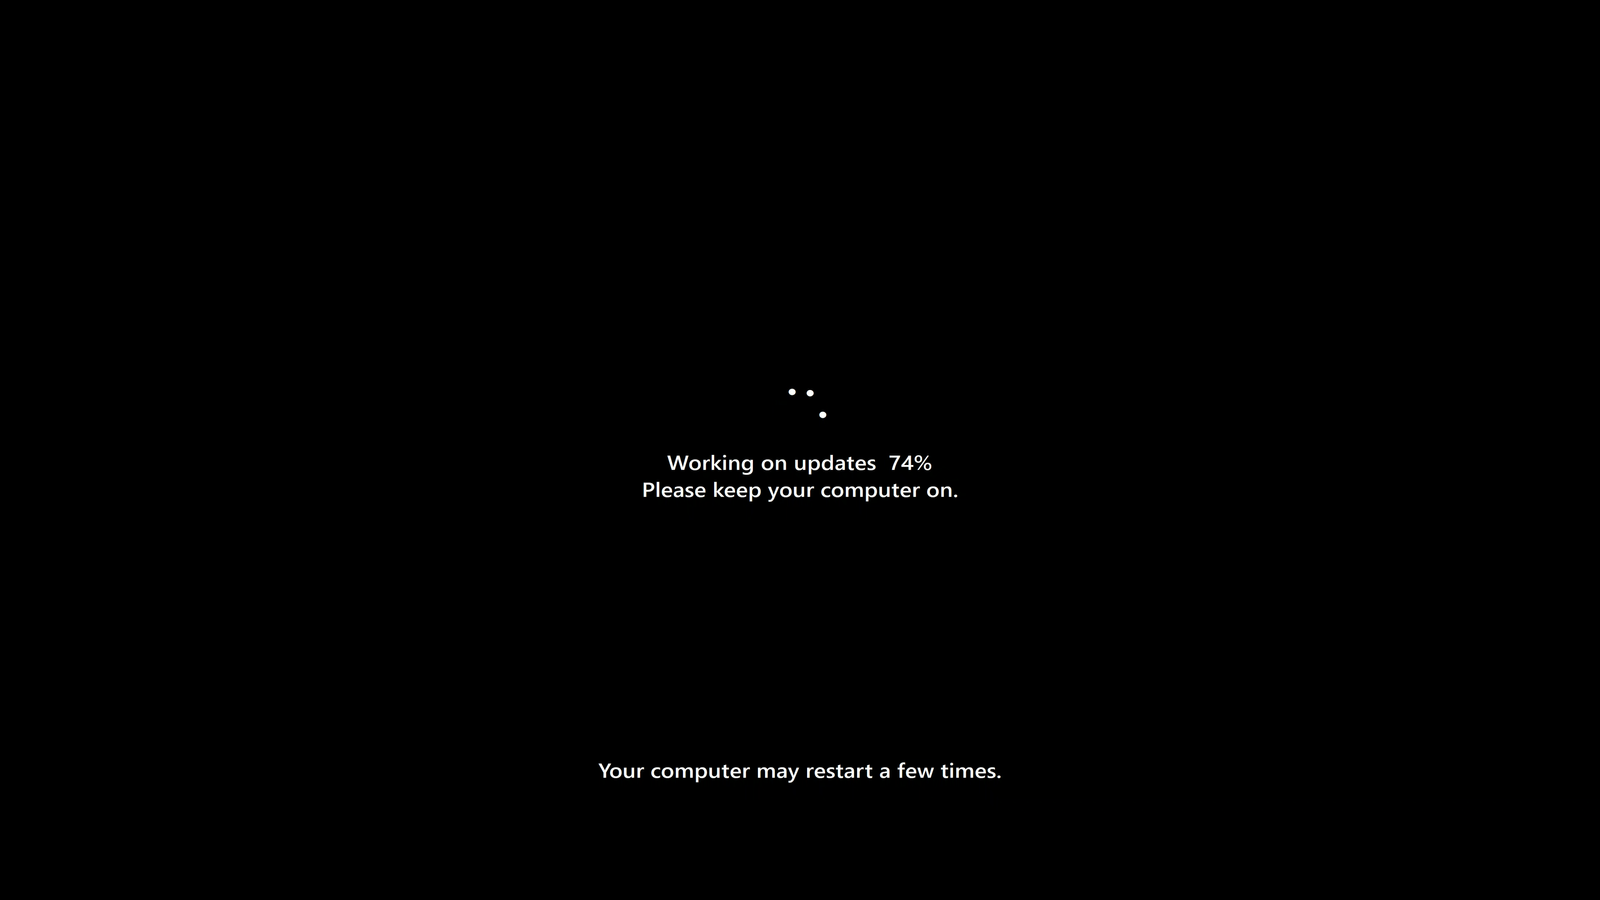
Once you click on the “Accept and Install” button, you need to wait and watch. The “Windows 11 Installation Assistant” will download Windows 11, Verify the Setup file and install it for you. The entire process needs time. It also depends on the network bandwidth and your hardware speed. You can use the machine for other light activities and work. During the upgrade, if you are using your device for some work, keep saving your work. Once the “Windows 11 Installation Assistant” is complete with Windows 11 installation, you need to restart your machine. Following are some screenshots of the installation process.
-
- Windows 11 Installation Assistants – Downloading

-

- Windows 11 Installation Assistants – Downloading
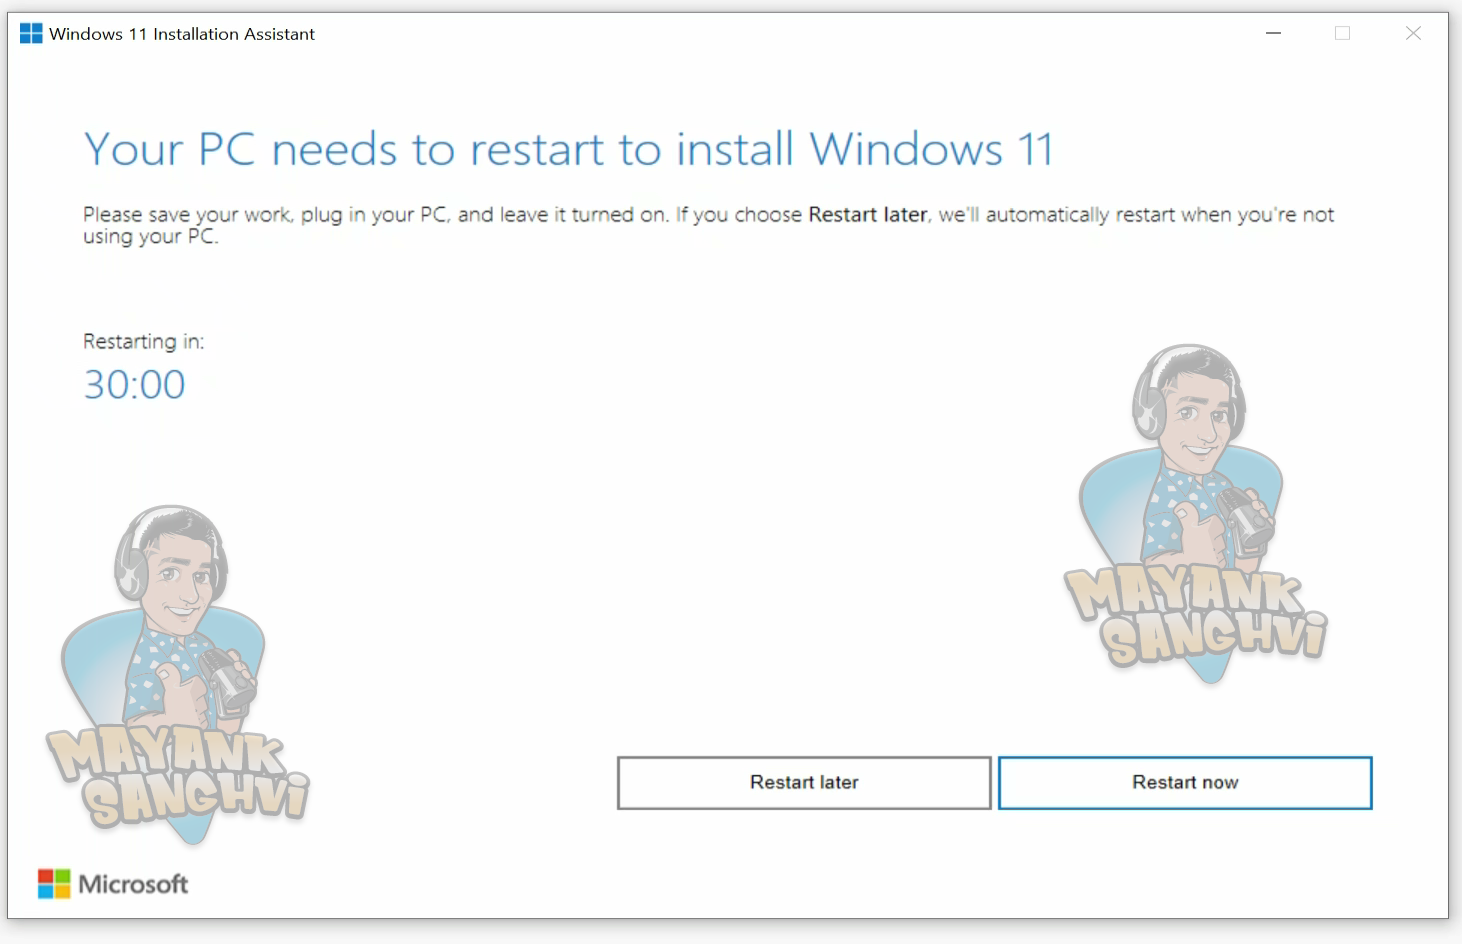
-
- Windows 11 Installation Assistants – Restart


Finally, we successfully upgraded our system from Windows 10 to Windows 11. Next, we will start exploring Windows 11 and its new features.