Hello everyone, this is Mayank Sanghvi from vlemon.com, and I welcome you all to another Step By Step Guide to create a Windows 11 USB Installation Media. To create a Windows 11 Installation media, we need a good internet connection and a USB Drive with at least 8GB space.
You can read the same article in Hindi by visiting the following URL.
For creating a USB installation media, we will use Microsoft Official Media Creation Tool, which we can download by visiting the following URL.
https://vlgo.in/DownloadWindows11
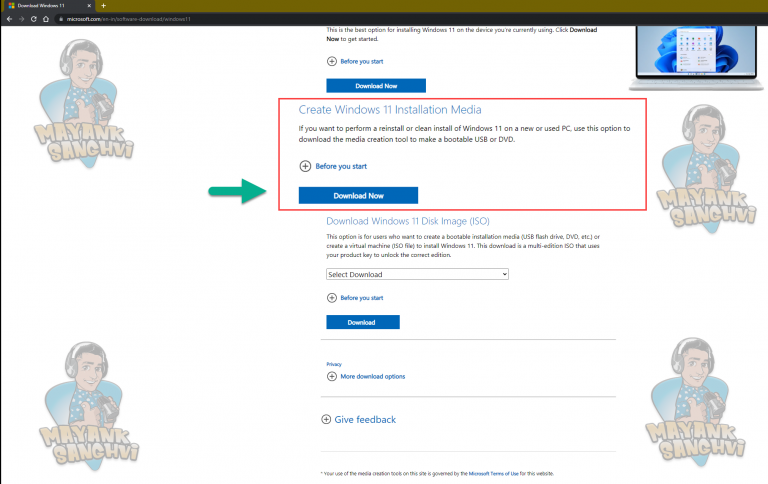
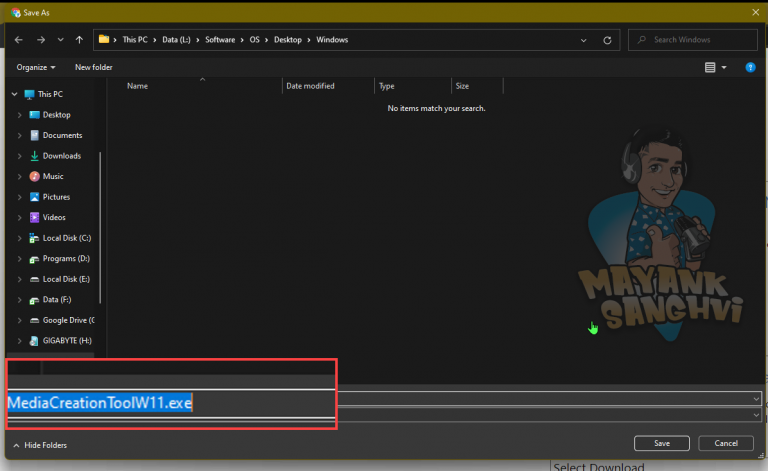
Once you click on the above link, it will redirect you to Windows 11 Official download page. On this page, we have three options to download Windows 11 installation media. As we know, we need to create a USB installation media. Therefore the second option is good. Clicking on the “Download Now” from the second option will download the “MediaCreationToolW11.exe,” an official executable file to create Windows 11 USB media. Save the executable and wait for the download to complete. Once the executable is ready, we need to follow the following steps.
The following are the steps to create a USB Installation Media using Microsoft’s official Media Creation tool for Windows 11.
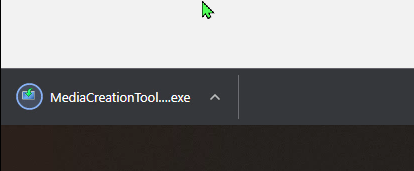
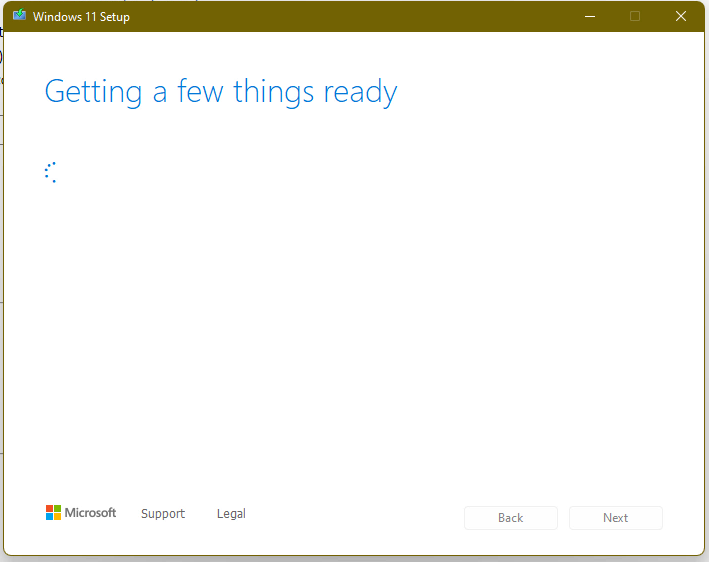
Step 1: Launch the Media Creation Tool – We first need to launch the “Media Creation Tool” we downloaded above.
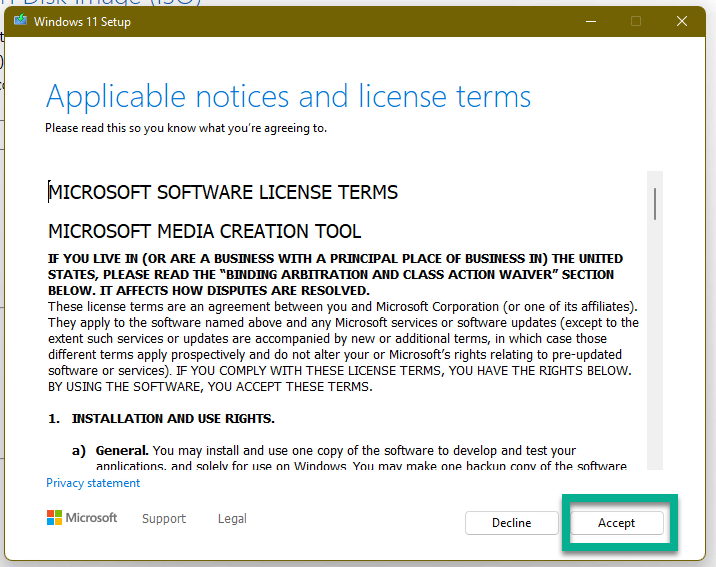
Step 2: Terms and Conditions – Accept the Microsoft Terms and Conditions.
Step 3: Select language and edition – Select the installation language we are good with, the English and Edition Windows 11.
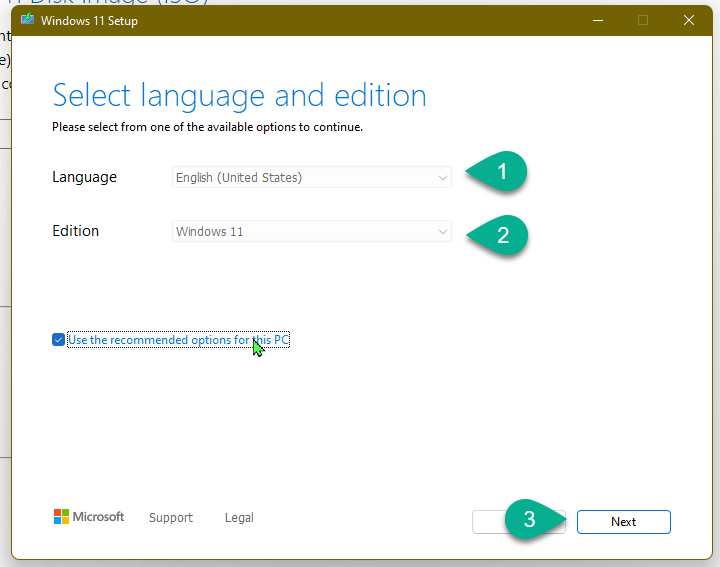
Note: You may select the checkbox “Use the recommended options for this PC” you want to install Windows 11 on the same machine or another machine with a similar configuration.
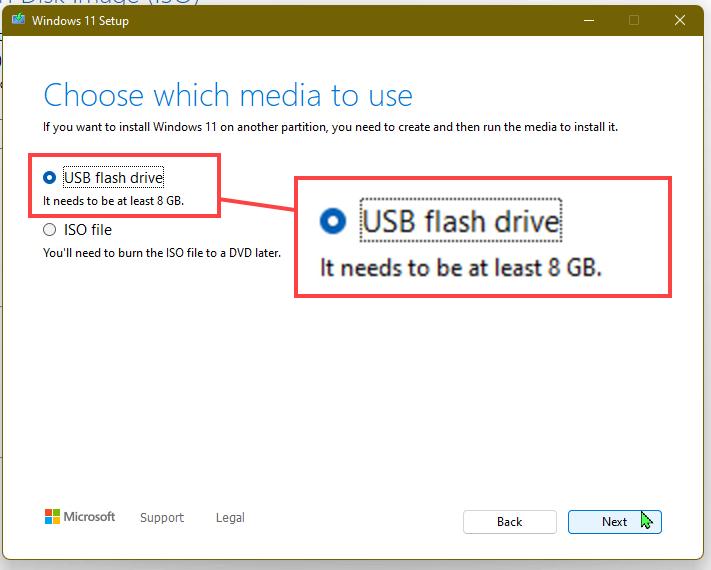
Step 4: Choose which media to use – Here, you can select the media you want to use. We need to create a USB flash drive so we will not change it. If you need to create a Windows 11 iso image, you can select the iso. We will use the “USB flash drive” for this article and click on the “Next” button.
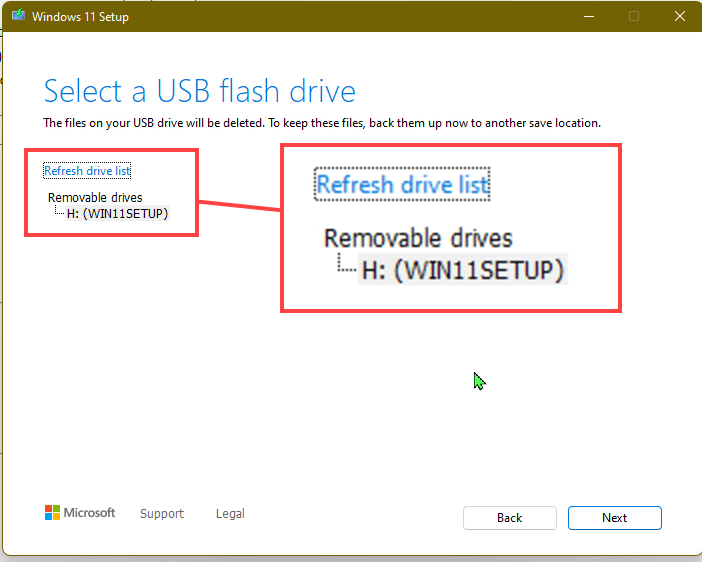
Step 5: Select a USB flash drive – On this screen, we need to select the “USB” drive. Next, select the correct USB drive you want to use to create a USB installation media. The “Media Creation Tool” will erase the USB drive chosen, and new installation files will move into it. It is essential to have backups for the critical files in the USB drive before clicking on the “Next” button. If you selected the correct USB drive and have old files backup, click on the “Next” button to continue.
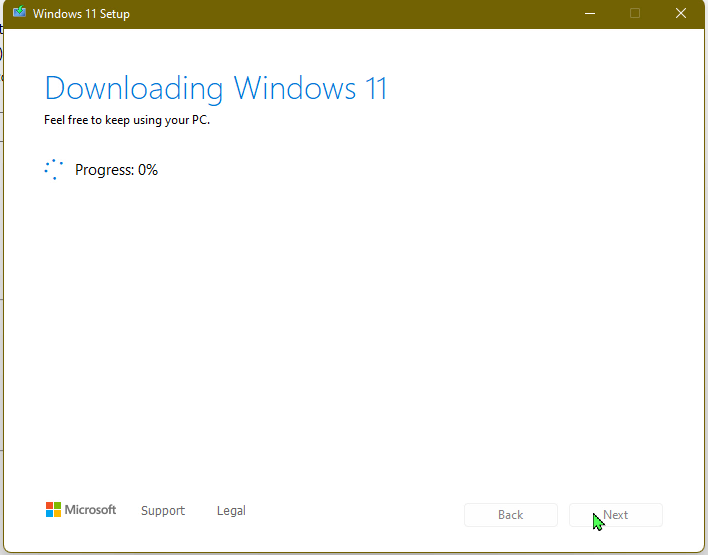
Step 6: Downloading – Once you click on the “Next” button as discussed in the last step, the “Media Creation Tool” will download the Windows 11 setup files. Then, it will verify the setup files and finally move the files within the selected USB drive. The entire process time will depend on the network speed. You can use your system during this step, but please don’t use or remove the selected USB media.
Step 7: Your USB flash drive is ready – Once the “Media Creation Tool” is done copying the file, you can see this message. It means you can click on the “Finish” button to close the “Media Creation Tool.”
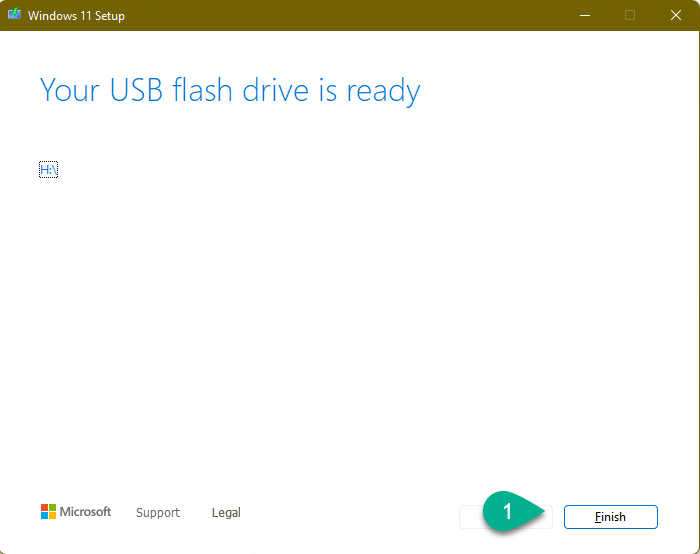
After the above step, you are ready to use your USB media for the Windows 11 setups.